So today in this blog post we will learn to create a Godaddy subdomain in GoDaddy Cpanel step by step and after that install WordPress and create a website. I will share my entire experience with you on how we create a subdomain website. so let’s start So first you have to log in to your GoDaddy Cpanel
“If you want to see the whole process live, then definitely watch this video 👇”
How to Create a GoDaddy subdomain in GoDaddy cPanel:-
Step 1:
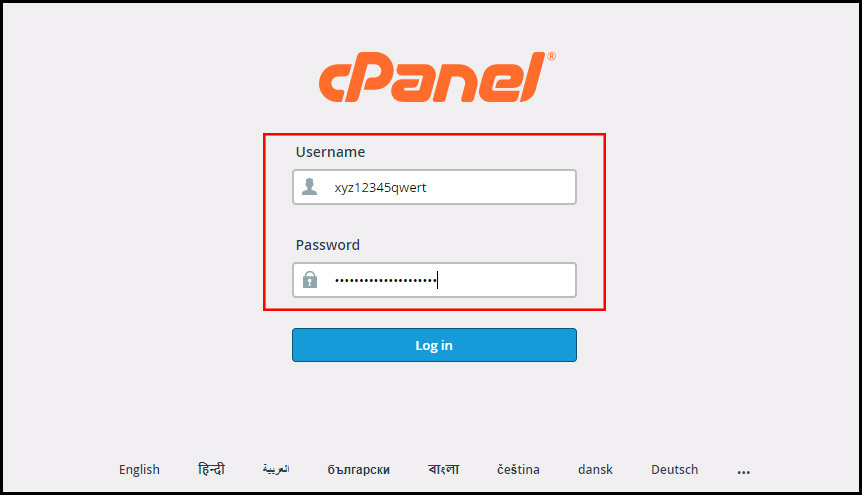
First of all, you have to log in to your GoDaddy Cpanel account as you can see in the screenshot mentioned below. The username shown in the screenshot is a dummy, it is not original, just to show you guys, I have taken the screenshot by entering a dummy username and password.
Step 2:
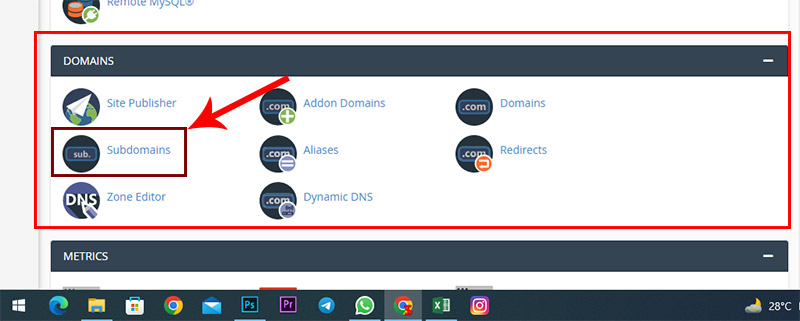
After logging into GoDaddy’s cPanel. The GoDaddy cPanel dashboard will appear in front of you. You have to go to the domains section and click on the subdomains section
Step 3:
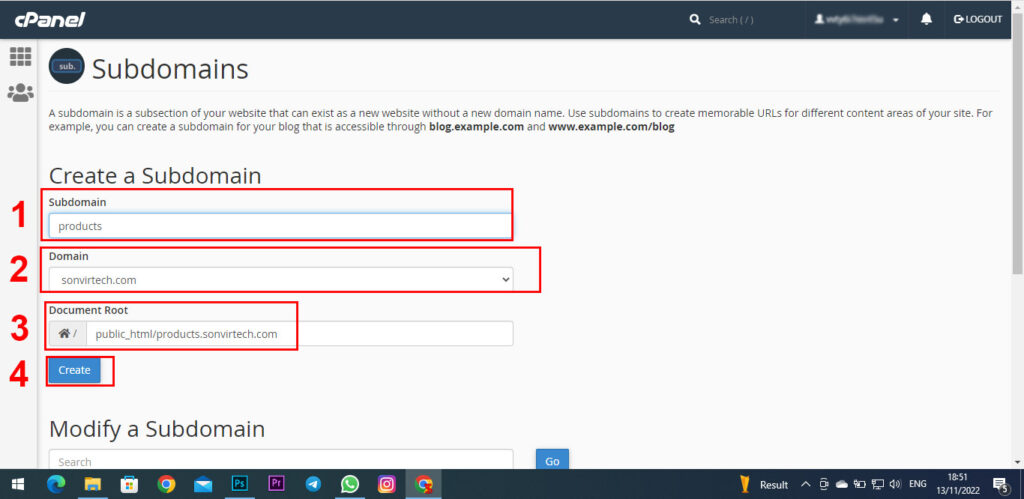
After clicking on subdomains. The Subdomains section will appear in front of you. You will see four options in this screenshot.
- In the first option, you have to write the name of your subdomain, whatever you want to write like I have named my Godaddy subdomain as the products.
- In the second option, you have to choose your domain, whichever domain you want to make a sub-domain.
- In the third option, you can choose your document root as you can see in the screenshot, if you do not understand this option, then leave it as it is.
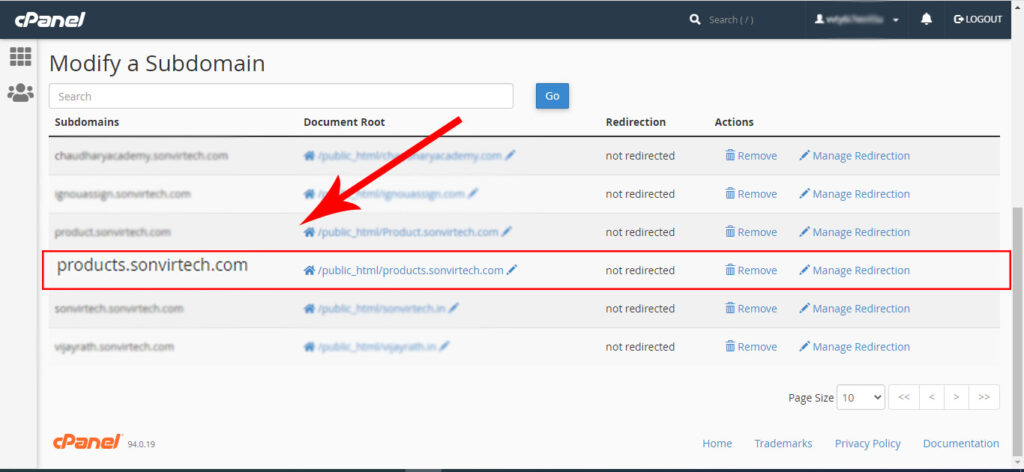
- In the fourth option, there is a submit button as you can see in the screenshot, Now you have to click on the submit button, and as soon as you click on the submit button, a success message will appear in front of you like “Success: “products.sonvirtech.com” has been created.”. Now after this, your subdomain is ready. As you can see below screenshot.
Add a DNS record for the Godaddy subdomain:-
By now your subdomain is ready. but have yet to record the DNS for the subdomain. Now we will see how to add a DNS record for a subdomain. First of all, you have to log in where your domain’s DNS record. In my case, the DNS record of my domain is on Cloudflare then I have to add the DNS record in Cloudflare. I log in to my Cloudflare account. In your case, it may be that your DNS record is in another place like hostinger, Godaddy, HostGator, etc, If your DNS record is only on Cloudflare then it is very good you can see the below steps. I believe that the method of adding any DNS record is almost the same whether it is GoDaddy be it HostGator or HostGator.
To create a CNAME or A record at Cloudflare, you need to:
- Login to your Cloudflare account.
- Select your domain
- Go to the DNS Settings tab.
- Click on the Add Record button.
- Set record Type to CNAME /A.
- In the Name field, enter the subdomain name like “Product” in my case
For example, in my case, my subdomain is Product.sonvirtech.com, then enter “Product”. Make sure you follow the requested pattern for choosing a subdomain name. - Add the IP address of the Your Hosting server in the target field as you can see in the screenshot.
- Now add the DNS record by clicking on the save button.
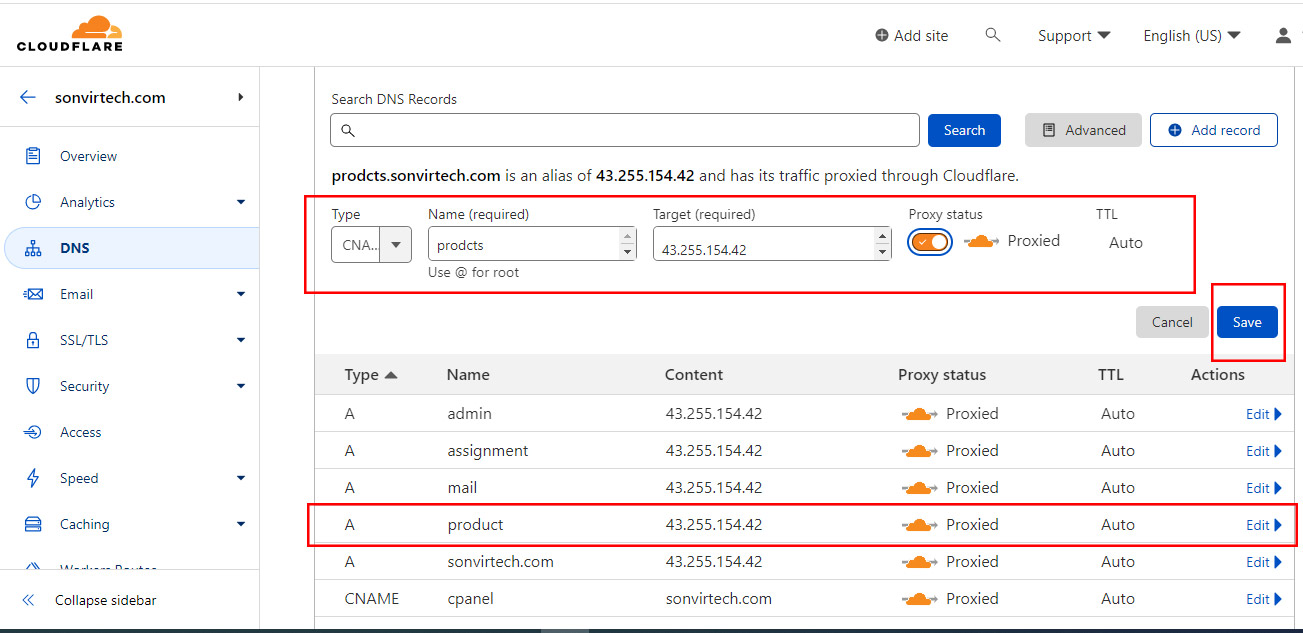
You can see the rest of the settings in the screenshot. Now your GoDaddy Subdomain is completely ready to run a website,